Sub-Zero Freezer Repair
How to Clean Sub-Zero Freezer Coils, and How Often to Do It
To clean freezer coils, switch the power off at the breaker, remove the grille and brush the condenser fins in the direction they run while a vacuum catches the dust, every six months. Here are the steps, the intervals and what a tune-up adds.
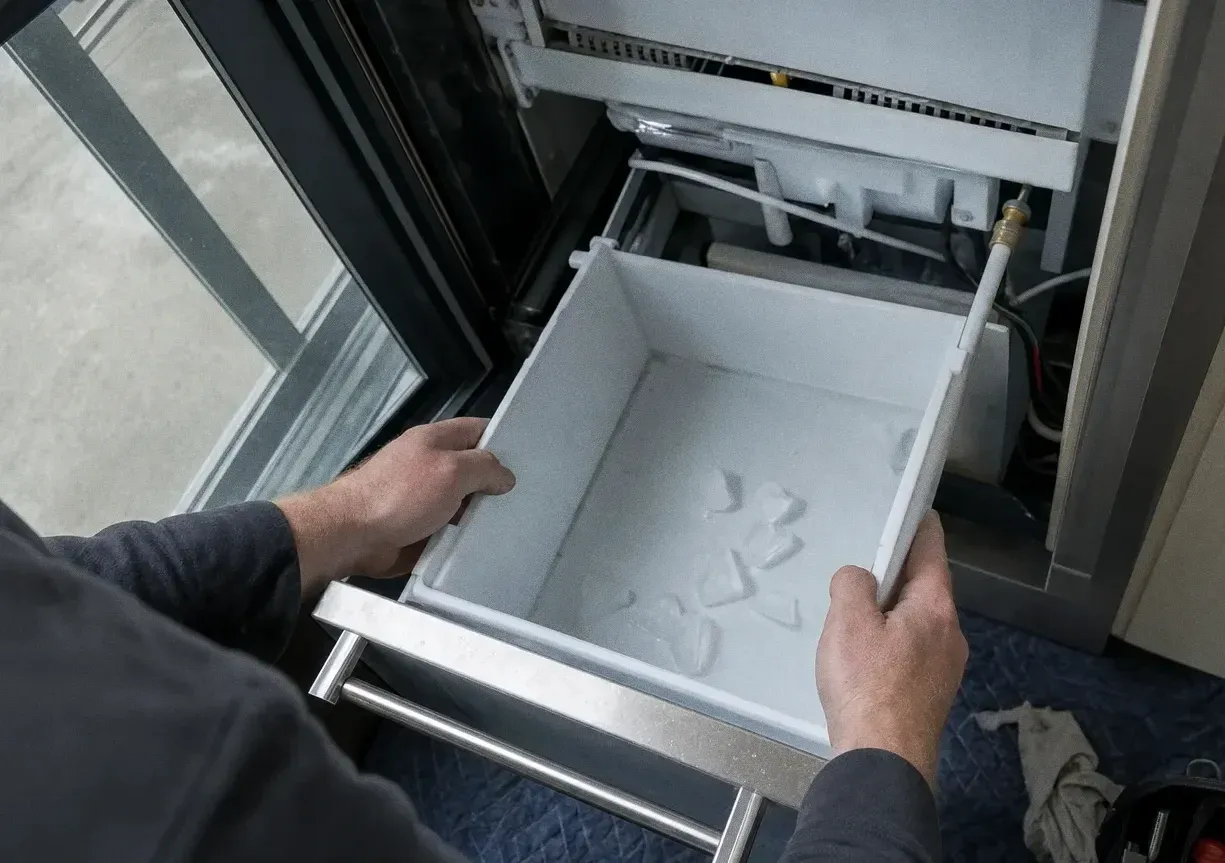
To clean freezer coils, switch the unit off at the breaker, remove the grille, and draw a soft brush down the condenser fins in the direction they run while a vacuum with a brush nozzle catches the dust. On most full-size Sub-Zero built-ins the condenser sits behind the grille above the doors; on undercounter freezers and drawers it hides behind the kick plate at floor level, and the use and care guide for your model shows the exact spot. Allow about fifteen minutes, and repeat the job every six months.
The reason is heat. The condenser releases everything pulled out of the freezer into the room, and a felt of lint over the fins traps it there. The compressor runs longer to hold 0°F, the fan works harder, and both wear out sooner. A built-in breathes only through its grille, so it has far less margin than a freestanding chest freezer in a garage.
Two sets of coils, and only one is yours
Every freezer has a condenser and an evaporator. The condenser is the warm, finned grid near the compressor, outside the cold space. The evaporator is inside, behind a panel at the back of the freezer compartment; it frosts over as part of normal running, and a heater melts that frost off on a schedule. When people look up how to clean freezer coils, they almost always mean the condenser, and that is the part this routine covers.
A thick white coat on the back wall of the freezer is a symptom, not a cleaning job. Never chip at it with a knife: the tubing is thin, and one puncture turns a modest repair into a sealed-system one.
The cleaning, step by step
- Cut the power at the breaker. The control panel can put the unit to sleep while parts of the compartment stay live. Wait until the fan blade has stopped turning.
- Take off the grille. A top grille usually tilts forward and lifts free, or releases with a pair of screws. A kick plate generally pulls straight off. Keep any screws in a cup.
- Look before you brush. Shine a flashlight across the fins and turn the fan blade by hand to check that it spins freely.
- Brush with the fins, never across them. A narrow condenser brush or a soft paintbrush lifts lint without folding the thin aluminum. Keep the vacuum nozzle right behind it so the dust does not settle back.
- Clean the grille. Vacuum it, wipe it with a damp cloth, and dry it before it goes back on.
- Restore power and check. The compressor and fan should start within a few minutes. Put a thermometer between frozen packages and read it the next day.
Leave already-bent fins alone, and skip water, coil sprays and degreasers; the compartment holds wiring, and ordinary dust comes off dry.
How often, and what shortens the interval
Twice a year suits a typical kitchen. Tie it to two dates you will remember, such as the first week of spring and of autumn.
Move to every three months if a pet sheds in the house or the kitchen opens onto a laundry area. Renovation is the big one. Older Boston houses with plaster walls throw off a fine grey dust whenever a wall is opened, and a condenser pulling room air through that work can clog within weeks. Resist taping plastic over the grille, because the unit needs that airflow; clean it once the dust settles and again a month later.
The rest of a twice-yearly check
While the grille is off, spend ten more minutes on the parts that decide how hard the freezer works:
- Door gasket. Close the door on a strip of paper at the top, the bottom and both sides. It should drag as you pull it out. Wash the gasket with warm water and a little mild dish soap, then dry it.
- Air paths inside. Keep packages off the vents at the back of the compartment so cold air can circulate.
- Ice maker. Empty and wipe the bin so old cubes do not clump; our guide on what a bad cube tells you covers the warning signs.
- Temperature log. Write the reading down. A freezer that held 0°F in April and shows 4°F in October is warning you well before it fails.
What a professional tune-up adds
You can clean what you can see. A technician measures what the unit is doing: the current the compressor draws, the temperature drop across the evaporator, whether the fan motor has started to drag, how cleanly the defrost cycle finishes, and whether the drain carries meltwater away. Door alignment gets checked too, because a gasket cannot seal on a sagging door.
Our $95 service call buys the diagnosis itself, and when you approve the work that $95 is deducted from the repair. Call (781) 371-8990 to book.
When clean coils are not the whole answer
After a proper cleaning, a freezer should cycle off for stretches and hold its setting. If it still runs without pause, the grille area stays hot, or the temperature creeps above 5°F, something else is at work. Typical ranges in our area, with the firm quote given after diagnosis:
- Evaporator or condenser fan motor: $280–$590
- Door gasket or seal replacement: $270–$760
- Defrost heater, thermostat or sensor: $290–$680
- Compressor or sealed-system repair: $1,000–$2,080
Our freezer repair page explains how these faults are traced, and we cover homes in Medford, Davis Square, Arlington Heights and Ashmont.
Still asked on the phone
How often should I clean the coils on a Sub-Zero freezer?
Plan on every six months for a typical kitchen. Go to every three months if a dog or cat sheds in the house, if the kitchen is under renovation, or if the grille sits near a laundry area. A glance at the fins each season tells you whether the schedule is right: a grey felt across them means you are overdue.
Can I use a coil cleaning spray or water on the condenser?
No, keep the job dry. The condenser shares its compartment with the compressor wiring, the fan motor and the control connections, so liquids add risk for very little gain. A soft brush, a vacuum with a brush attachment and a flashlight handle ordinary dust and lint completely.
Do I need to pull a built-in Sub-Zero out of the wall to reach the coils?
No, and it is better not to try. Full-size built-ins and columns are heavy and anchored to the cabinetry, and their condenser is reached from the front through the grille. Undercounter units are reached through the kick plate at floor level. Sliding the cabinet out is work for a technician.
My freezer is frosting up inside. Will cleaning the coils fix it?
Usually not, because frost inside the cabinet forms on a different set of coils. Frost on the back panel or on the packages points to the evaporator side: a door that no longer seals, a defrost heater or sensor that has failed, or a fan that has stopped. Those need a diagnosis rather than a brush.